
Faux Weathered Wood Table Using BB Frosch Dark Wax

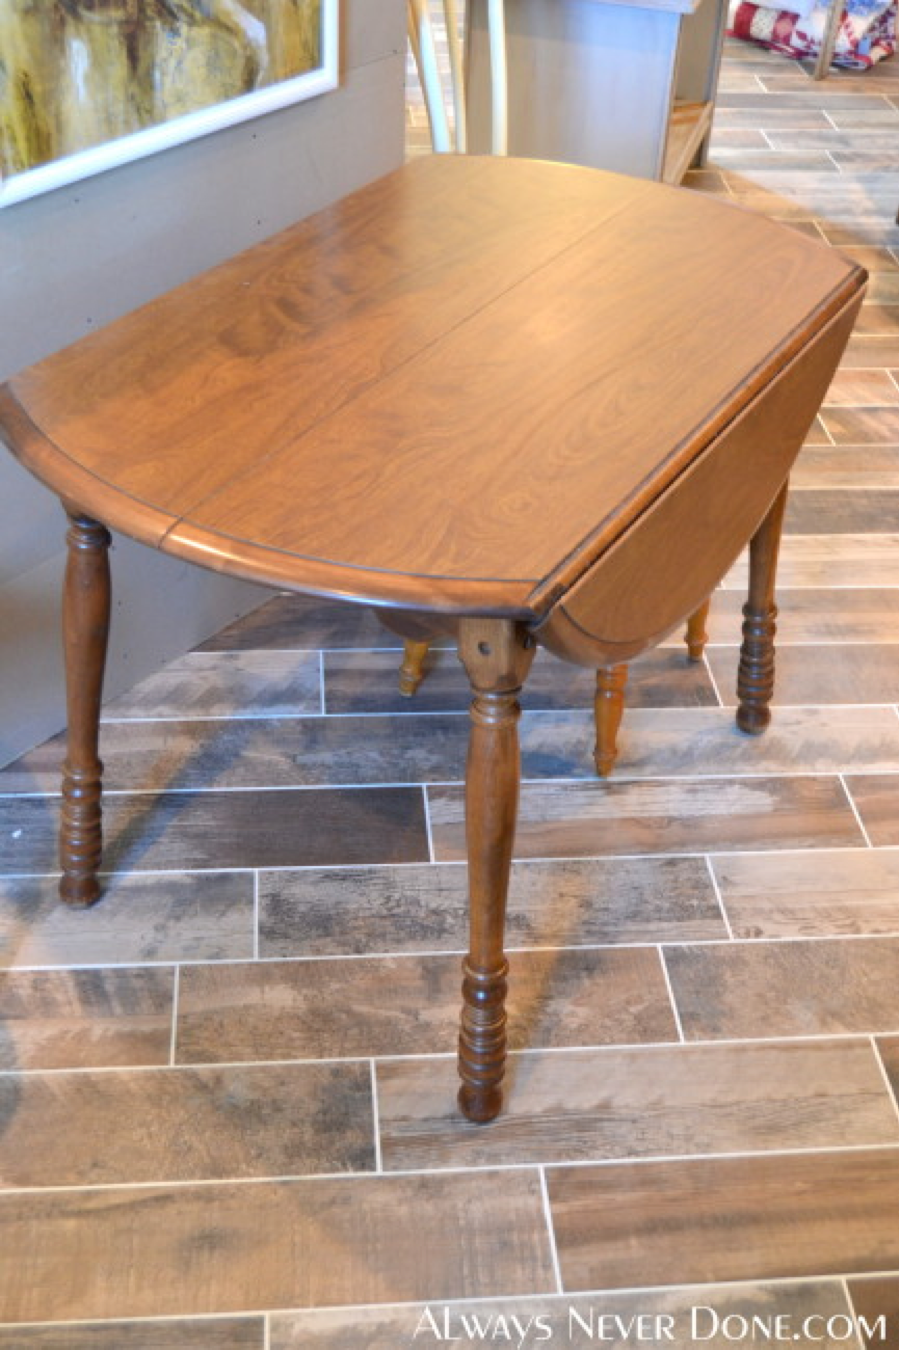
As an avid painter of furniture I never seem to be thrilled about staining things. It’s inevitable that I have to do it because I love how it looks but it doesn’t mean I like to do it. So when I saw a fellow blogger Delila Mae Designs show her faux staining technique I knew I just had to try something like it!!! So here was my table before. We have all seen one of these tables. Its not solid wood but it’s super duper heavy and UGLY!!!! Great to put a table cloth over and leave it there.
So the first thing I did was lightly sand and clean the whole table with TSP cleaner (a furniture cleaner you can get at Home Depot or Lowes for next to nothing) This gets all the old grime and dirt and creepy crawly things possibly living on the underside of the table off and vacated

Now I am ready to paint. I always use chalk paint. My preference is BB Frosch Chalk Powder.

I painted the top of the table a really boring brown color. I chose Behr “chocolate swirl” in flat and I made my own chalk paint by mixing the BB Frosch Chalk Paint powder right in the sample pot. This creates a really easy and budget friendly chalk paint. I love this stuff guys!!

While that lovely dull brown paint dried I decided to start painting the legs. Again I mixed in BB Frosch powder with Valspars “Ivory Lace” in flat and went to town.

While the legs were drying I went back up to the table top and layered a lighter brown to add dimension. The color I used was Valspar “Smoked Oyster”. The key to this coat was a dry brush technique. This means you lightly dip your brush into the paint, wipe the excess off on a paper towel and lightly brush on what’s left in wispy coats. I painted with the wood grain and in al different directions for this effect to give it a weathered look. Get all Picaso on me and do some crazy painting in all directions for this step. It’s fun! (I also mixed my chalk powder in this paint too)


Next go back to the legs and paint another coat of them. (If you haven’t noticed I am sort of a go gettter when it comes to projects. I just keep going and going like the energizer bunny.)

When I was finally forced to take a break because everything was drying I decided to make a cup of hot joe and stare at my shoes for a little. WHAT!!! I am allowed to zone out here and there

Ok back to work. Now that everything is dry I am ready to distress this bad boy. I did not distress the top with a sander I left it as is but I did sand the edges of the legs to give it a roughed up look.

Now here comes the really fun part. Waxing the top. Now normally you use clear wax first and then go over the clear with dark to get a nice antiqued look (the dark wax is really dark and unforgiving when put directly onto the surface. This is why you normally put clear wax on first) However for this faux staining technique we are going to go right over the top with dark wax. YIKES!!! I admit I was really scared to try this but it looked so good!

I just brushed the BB Frosch dark wax on and I was very liberal with the amount of wax I used. I lightly rubbed it in with a lit free cloth in about 1 foot sections at a time and then I let it dry for 15 minutes.


The left side has no dark wax but the right side does. LOVE!!!!!

DONE!!! Look at how amazing this turned out. I am completely amazed with myself.


Add some dried Hydrangeas and cute chairs!

