
$25 Sofa Table Tutorial

As you know if you read my last post, we bought a new sofa for our living room. The sofa fits perfectly in this L nook. However, there is one slight problem, there is no room for a table to fit on either side of the sofa and if there is one thing I hate, it’s a sofa without a table to sit my wine on!!! I guess more importantly I need to have lighting in that corner too…I guess!
You see what I mean. No room for anything except a sofa and that was the smallest one I found with a chaise. (Hubby was on board for a new sofa if it had a man chaise aka a place for the man to sit and relax in his wife’s meticulously decorated home.)
Then I thought about a sofa table behind the sofa wedged in between the sofa and the wall would solve all my furniture problems. That is until I couldn’t find one that fit. So you know what I am going to say next. I made one! Problem solved.
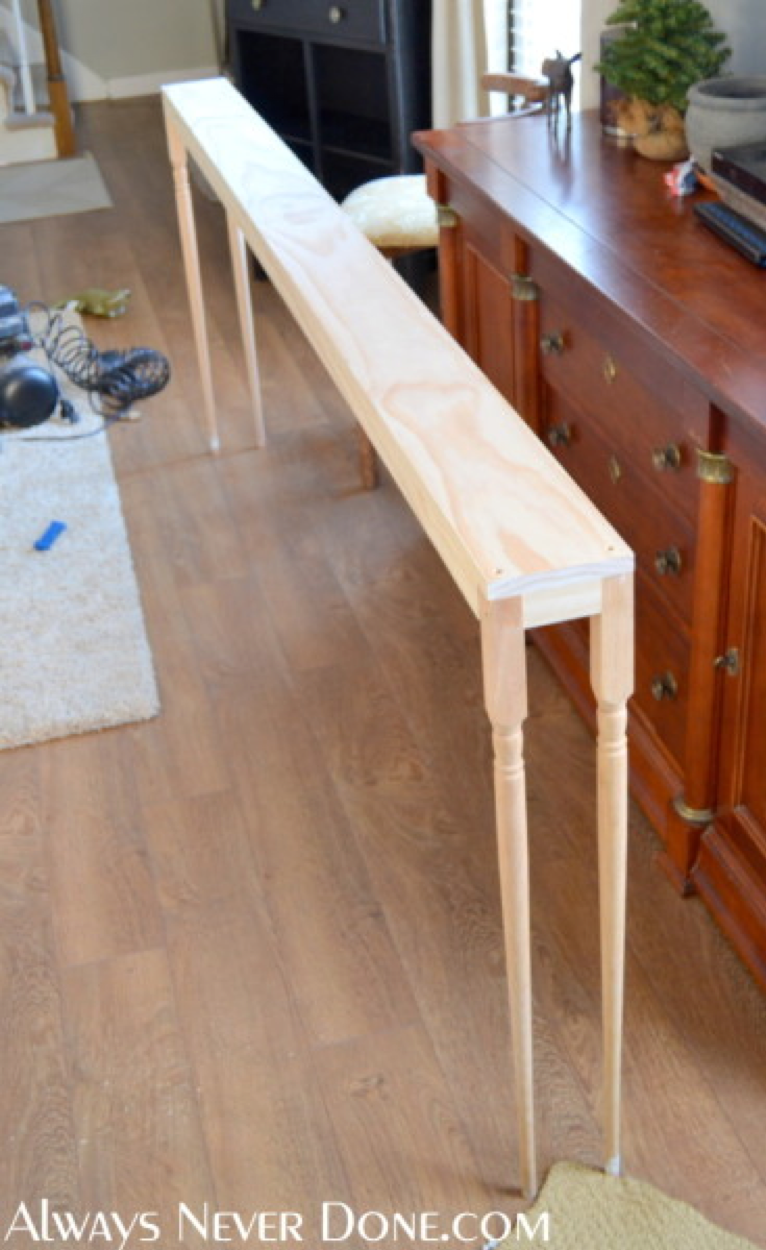
I wanted a really thin and really long table. Just wide enough to sit some thin lamps on and a few treasures. Oh and a glass or two :).

DIY SOFA TABLE TUTORIAL
Here’s what you’ll need to make this sofa table: This post contains some affiliate links for your convenience. Click here to read my full disclosure policy.
1 – 1 x 6 x 8 pine board (cut to your desired length)
2 – 1 x 2 x 8 furring pieces
Screws, screw driver, clamps, stainable wood filler, stain, paint
Take your long pine board, which is going to be the table top and attach the furring strips to the underside of the table top on either side.
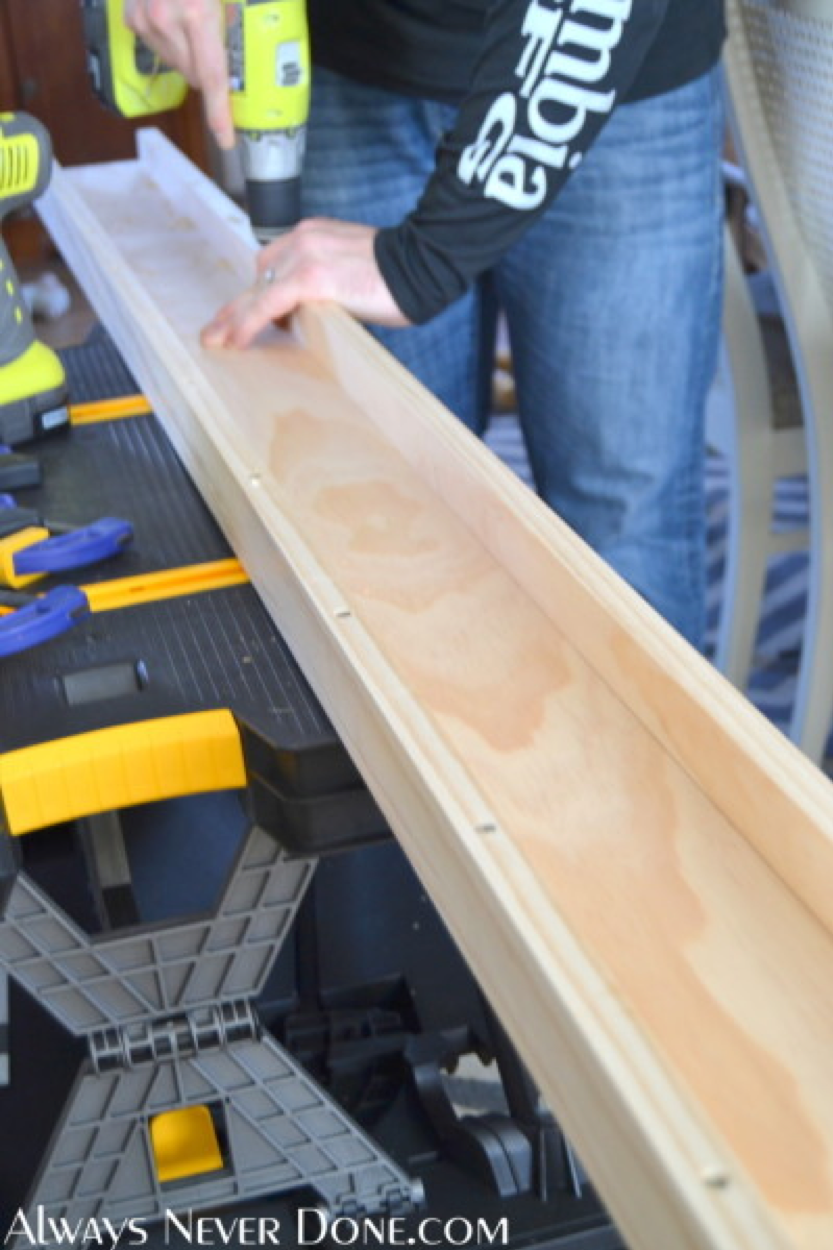
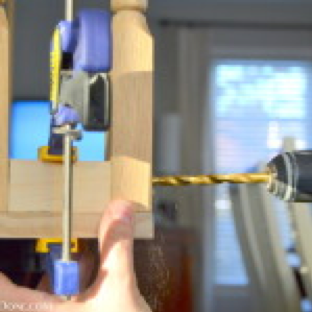
To do this, use your clamps to hold the furring strip to pine board, and drill pilot holes about every foot along the furring strip. (Pilot holes are small holes drilled into the wood before driving the screw in. This prevents the wood from splitting and keeps the screw straight.

We did a few pilot holes and then screws and moved down the board and repeated. Then moved onto the other side and did the same.

These are the screws we used.

They are construction screws with a star shape at the end. The star shape gives the screw added torque for easy driving. (It’s easier for the screwdriver to grip.)
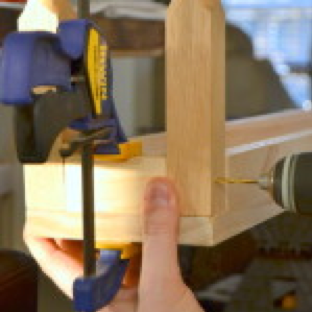
Now for the legs. I saved some banister rails when we tore down our hand railing in the basement. I knew they would be useful for something one of these days. They ended up being the perfect height for the table. (You can also buy these at a home improvement store or just use 2 x 2 wood cut to your desired height.)
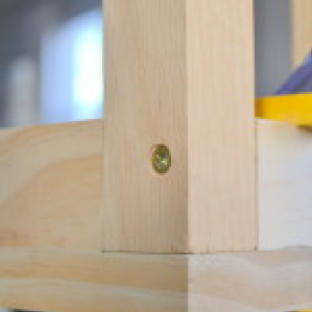
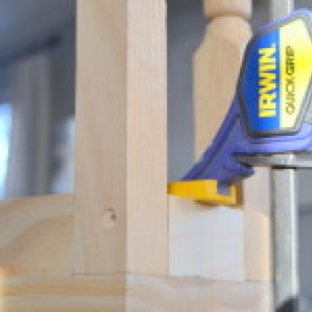
We turned the table right side up and drilled pilot holes and then sunk the screws into the wood which is when you take a larger screw bit and drive down just a tiny bit over the pilot hole. This is to sink the screw head which means when the screw is driven into the wood it will sink down beneath the surface of the wood allowing you room to use wood filler. You don’t want you screws sticking out above the wood it just doesn’t look nice. (depending on the size of the screws depends on what size drill bits you will use to make your pilot holes and to sink the screw. They have charts on the world wide web for the size screw you are using if you can’t figure it out.) put the screws into those holes were the center of the legs would be.
Drill pilot hole…………………Use bigger drill bit to allow for screw………………Sink screw

Your table is now built. Now mine is a little wobbly because it’s so long and thin. I could have added extra support or more legs but I knew this table would be wedged in between the sofa and the wall which gives it more than enough support.
Time to fill the screw holes with stainable wood filler. I used Elmer’s ProBond Woodfiller. Let it dry and sand it down to perfection. I stained the top of my table using Minwax Wood Finish in Jacobean (just what I had around.) I applied 2 thin coats, letting it dry properly in between each coat. I then painted the legs in Behr Polar Bear Semi-Gloss which is the color of all of the trim in my house so I had some sitting around. After that dried completely I put 2 coats of Minwax Polycrylic water based Protective finish in clear satin. Let that dry and harden and you are good to go!!!!!
